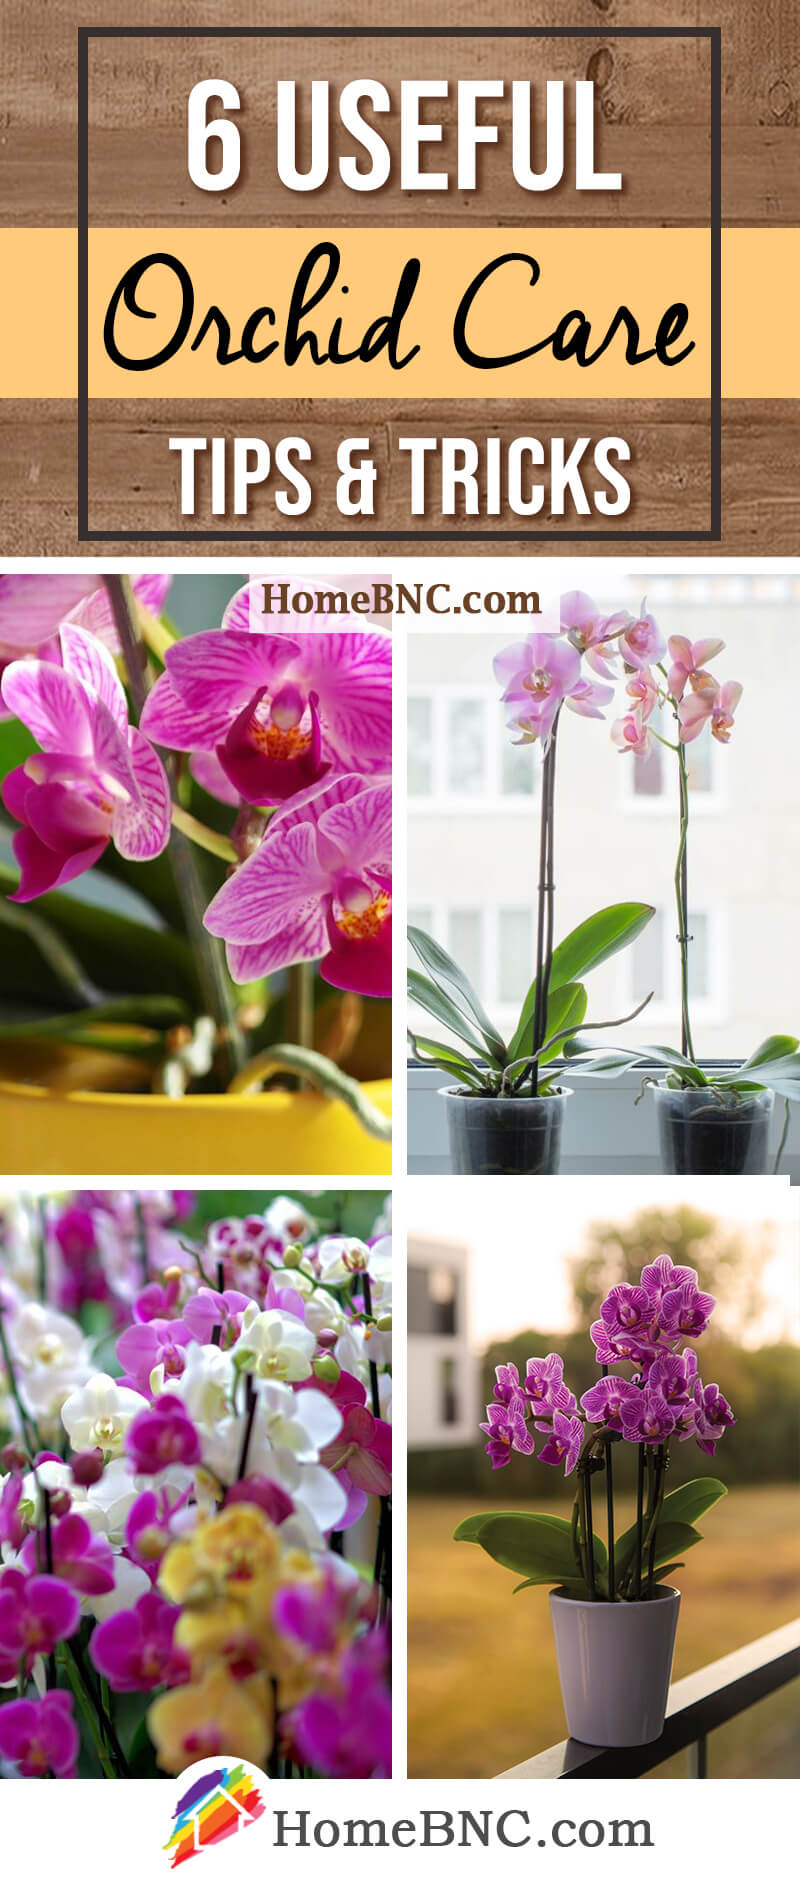
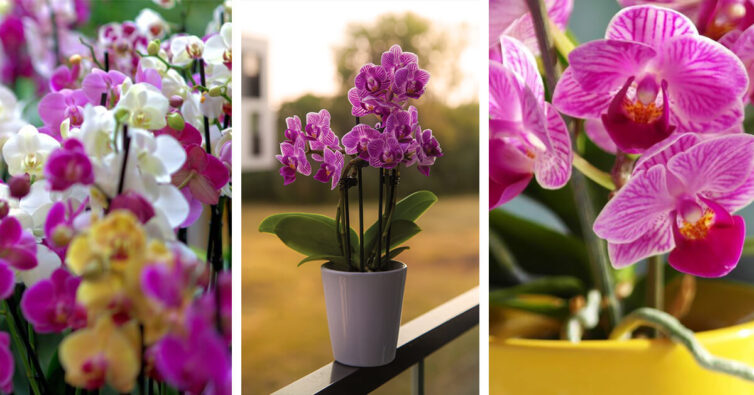
An Orchid is a visually stunning flower with abundant mystique and charm. If you love their elegance, you may wish to learn about orchid care to be successful at growing them indoors. These plants belong to the Orchidace family, exhibiting bright colors and enticing aromas. The proverbial family tree for Orchids expands across some 30,000+ species.
Overture for Orchids
Orchids represent beauty, refinement, and charm in the language of flowers. One look at Orchids, and it’s easy to see the reasons for this correspondence. The gently turned petals of this plant make for graceful show-stoppers. It’s not surprising to discover the Orchid industry is booming. On a more personal level, however, growing Orchids in your environment acts like aromatherapy, decreasing stress and bringing peace.
Key Takeaways
- While Orchids love 12-14 hours of sunlight but avoid direct afternoon exposure
- Keep your Orchids out of drafty, cool areas. They thrive at 60 to 80 degrees F.
- Orchids have a unique root system requiring air circulation, which will keep them healthier and deter diseases.
- Orchids blossom but once a year (living 30-45 days). So don’t worry if you don’t see more buds afterward.
6 Trustworthy Strategies for Indoor Orchid Care
Shopping Orchids for Your Home
People don’t shop for orchids regularly. So when you go to the garden store, you may not be certain about how to select a healthy plant. Here are some tips:
- Bloom Review: When you look at the blossoms, they should burst with radiant color. Check to see if they have a firm attachment to the spike. Tip: If you find a healthy one with buds, grab it to enjoy flowers nearly immediately.
- Leaf Look-see: Bright forest-green leaves are a sign of a hardy plant. Now, you might notice some yellow on the bottom of the leaf.
It’s because the leaf is old and will fall off. On the other hand, avoid plants where all the leaves show signs of yellow. It can indicate improper watering or insects, like mites. - The Nose, Knows: You can use the sniff test to see if an orchid is healthy. The aroma should have no rancid aroma.
- Root Survey: The roots of a healthy orchid are slightly plump. They should never be mushy. If you cannot see the roots, ask the store owner if you can take it out of the pot momentarily.
- Scrutinize the spikes. The orchid’s stem has to be strong to hold followers without bending. If you notice the orchids leaning downward, look at another plant instead.
Factoid
Orchids take about 5-7 years to bloom. Once germinated, they can live up to 100 years.
Choosing Orchids for Indoors
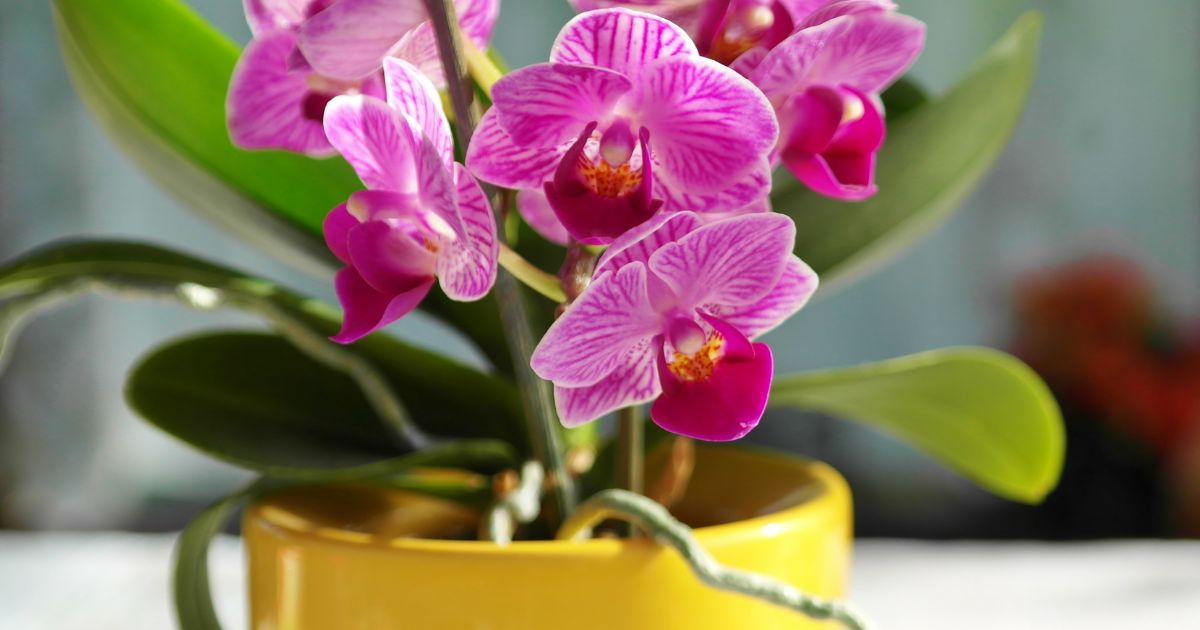
Several Orchids fare better than others inside the home. Consider one of these as your starter plant:
- Cattleya: Direct sun and dry soil create flowers that last 1-4 weeks. Blossoms between winter and spring.
- Cimbidium: Large flowers and various colors from which to choose, including pink, orange, yellow, red, and white. Place in an eastern-facing window.
- Dancing Ladies: Small yellow and/or brown flowers. Enjoys fertilizer after a thorough watering.
- Jewel Orchid: The foliage on this orchid is outstanding. Make sure it has good air circulation. Yields small white flowers along the spikes.
- Lady Slippers: Blossoms from winter to spring. Color options are pink, orange, red, yellow, and mixed. Make sure their soil is never dry. Indirect, bright light.
- Moth Orchids: These look like little butterflies and are the perfect orchid for beginners. Their flowers can last for months. Colors include purple, pink, salmon, yellow, and speckled.
- Zygopetalum: Fragrance plus beauty. Bloom late fall to early spring. Flowers last around a month.
Orchid Size and Ancestry: The largest Orchids in the world weigh several hundred pounds. The smallest is approximately the size of a dime. Research indicates that the Orchid existed at least 15 million years ago (with the suspicion that it evolved much earlier than that).
Orchid Necessities
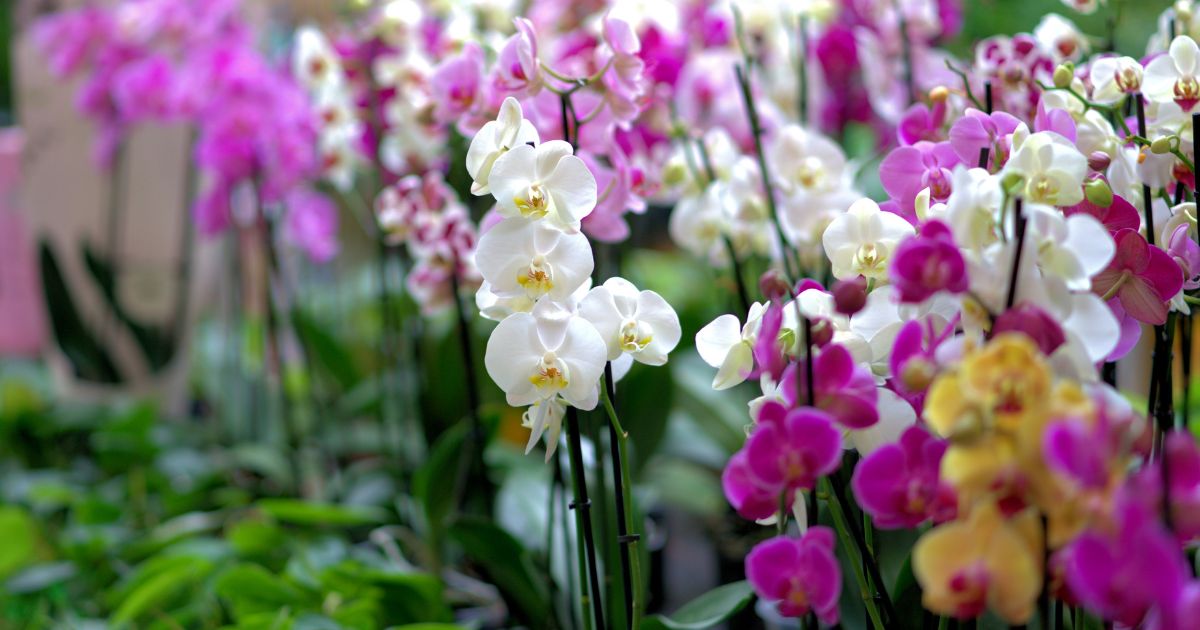
Like any other blossom, Orchids have some basic necessities to be healthy. For example, the growing media for your plant requires exceptional drainage. You can achieve that by mixing bark, charcoal, perlite, and sphagnum moss together. Here are six more pieces of information to help you successfully grow orchid plants in your home.
Tip 1: Watering Techniques
Gather rainwater and let it sit at room temperature. If you notice the orchid’s leaves taking on a silver-white tone, it needs a drink.
Misting: This is especially important when it’s hot. Mist 2-3 days out of the week. In winter, you only need to mist them about every two weeks.
Take the plunge: Once a week, plunge your orchid into the water, keeping the leaves dry. Remove and let it drain completely. Take care to avoid any standing water.
Watering Mistakes
Over and underwatering are common culprits in orchid death. Getting watering down to an art form takes time and patience. Never allow your orchid to sit in water for extended periods. Instead, wait to water when the orchid is dry.
While it sounds odd, water your orchid in the morning. For some reason, night watering encourages diseases.
Orchids are edible
Orchids are beautiful in beverages and salads. Vanilla orchids are great in baked goods.
Tip 2: Potting and Repotting Orchids
You will find that the process of potting and repotting orchids are pretty much the same. However, if you’re potting for the first time, use a plastic pot to release the roots easily upon repotting.
There are ways to know if it’s time to repot your orchid. First, if you see anything like coffee grounds in the water, the media is breaking down, and you must repot. When your orchids have new roots (spring), it’s a good time to repot.
In some instances, the orchid looks like it’s trying to escape, with rhizomes peeking over the edge of the pot. Find something larger and repot immediately. Soak the roots, removing material between them and gently loosening them. Trim away dead roots.
Orchids can be persnickety
The primary methods presented here work for “most” orchids. Nonetheless, some species of Orchids need special treatment like dividing. So take the time to research your Orchids to keep them healthy.
Tip 3: Orchid Pruning and Maintenance
Pruning your orchid gives you greater control over the plant’s growth and can extend the flowering period. When the last flower on the orchid dies, cut down the spike three nodes with sterilized pruning shears. New branches should begin growing from the lower part of the spike. Within about two months, flowers should start emerging.
Another reason to prune your orchid is to rid it of diseased leaves. They’re easily recognized being brown, black, or yellow. Clip out any discolored spots you see. This is an excellent time to apply fungicide to the plant for prevention.
When you repot your orchid, give it a pruning. Once out of the pot, remove any moss or bark from the roots. Use your pruning shears to remove dead roots-they look stringy. Clean off dead leaves, and then repot the orchid with fresh bark or moss media.
In terms of maintenance, there are some generalities you can follow.
- Water with lukewarm water when the soil is nearly completely dry. If you use a clear pot, you can actually see when it’s time to water.
- In the summer, give your orchid a 10-10-10 fertilizer weekly (reduce it to quarter strength. Stop fertilizing when the plant no longer blossoms.
- Always choose pots with drainage holes.
- Grow them in an east-facing window or north, ensuring it’s not in direct sunlight.
Orchid: The Master of Disguise
Orchids can mimic some things in their environment. They do so to help spread their pollen. For example, some flowers look like female insects to lure an unwitting male. The insect flies away and sometimes gets tricked again. The visitors from pollinators ensure the orchids’ future.
Tip 4: Orchid Blooming and Resting Periods
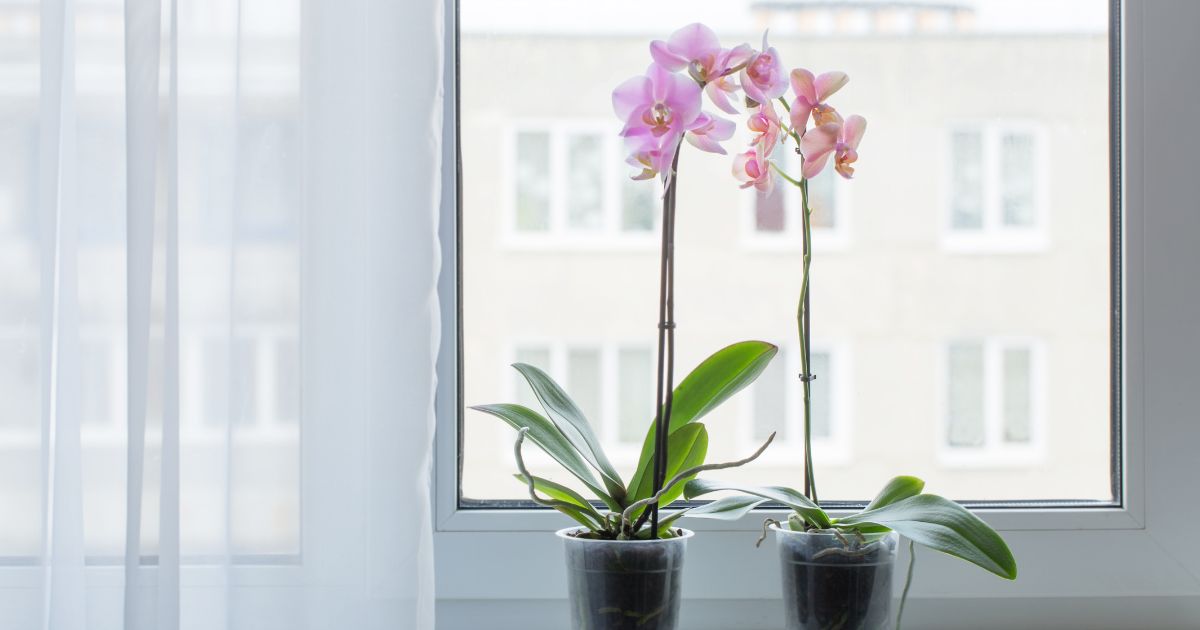
Orchids have various times of blooming followed by a peaceful repose to gather energy for the next blooming season. Then, the stems may turn brown and shrivel; the leaves lose their luster. So, it’s unsurprising that some people think their plant is dead.
This is not the time to concede defeat. Continue with your weekly wearing. Fertilize every other month, and move the plant to a cooler area in your home. Remember to provide indirect sunlight. Avoid the temptation to throw your plant out. Be patient.
Orchid remedials: orchids were a common part of the Chinese healer’s kit. The type of orchid determined its application. For example, if you are a singer, Dendrobium catenatum (Pigeon Orchid) in tea is a tonic for protecting your voice.
Tip 5: Common Pests & Plant Diseases
To successfully grow orchid plants indoors, you’ll need to know a little bit about the main pests and plant diseases that affect them. If you suspect you have a sick flower, isolate it from your other indoor plants.
INSECTS
Aphids: The menu for Aphids consists of new growth, flowers, and buds. If your orchid’s leaves feel sticky, you likely have Aphids. The good news is that you can spray them away with water every 2-3 days.
Mealybugs: The mealybug hideout is at the junction of your orchid’s stem and leaf. Their bodies are pinkish or gray. You need to look closely. Small Mealybugs measure only 1/20”. Treat with isopropyl alcohol applied to the leaves. If there are dead leaves or flowers, remove them. These are difficult to control, so use pesticides.
Mites: Members of the spider family, mites usually live and feed on the underside of an orchid’s leaves. If you see webbing and brown spots, mites are in the vicinity. Leaves will turn silver and then brown. Use a magnifier to look for them. They are minute and colored reddish-brown. Use a spritzer filled with Murphy’s Oil Soap, water, and rubbing alcohol. Spray it on the plant once a week.
Scale: These little critters feed on the underside of orchid leaves, so you may not see them immediately. Breezes can cause colonization on your other plants. Watch for brown or yellow circular shells. You can treat them with isopropyl alcohol using a Q tip. Remove old leaf and flower sheaths as you go. Severe infestations may require pesticides.
Thrips: Thrips are sucking insects that prefer the flower of the orchid. An infested bud may not open; if it does, it appears misshapen. If they move from the flower to the leaves, you’ll see pitting, and the leaf turns silvery.
DISEASES
Orchids may develop any one of some 27 diseases that affect them. There are two, however, that appear most frequently: Cymbidium Mosaic Virus and Odontoglossum Ringspot Virus. Both diseases are systemic, appearing in flowers, leaves, and roots, and both are considered incurable.
The Cymbidium Mosaic Virus will appear when your plant is about six weeks old. Symptoms include light and dark green areas, eventually adding brown streaks after four months. New leaves are sunken, yellowish, then turn black.
Odontoglossum Ringspot Virus appears in the Orchid Flower. The normal pattern becomes irregular splotches or streaks of pigmentation. Leaves appear sunken with yellow patches.
Seeds, seeds, and more seeds
One orchid seed pot can hold 3 million (yes, really) seeds. You can’t see them without a microscope. Pollinators and the wind disperse the seeds so they can germinate.
Tip 6: Troubleshooting Common Orchid Problems
The more experience you have with Orchids, the faster you recognize problems. But, no matter the issue, remember to use clean tools and pots every time.
Sagging Leaves: These may appear due to over or under-watering. Gently remove your plant and check its roots. If they’re mushy, you’ve watered them too much. If you see shriveled roots, the plant is too dry. Move the overwatered plant into fresh media. Place an underwatered plant in lukewarm water for 5 minutes. Trim off dead roots before repotting. If your plant seems a little saggy, stabilize it in the pot.
Shriveling Buds: Your buds come out but turn yellow and wrinkly before opening. If your environment suddenly changes, that may be the problem. Look to see if it’s near dry, hot areas or exposed to cold. Note: orchid buds will not open in a dark area.
Spotty Flowers (Botrytis): Humid, wet conditions in cold weather can cause your orchid flowers to develop spots. This can also occur if your plant doesn’t have good airflow. Take note, however, spots that become larger may indicate a fungal problem.
Other Problems & Solutions:
| Problem | Cause | Solution |
|---|---|---|
| bulb rot | lack of repotting | repot with fresh media |
| dying leaf tips | overfertilization | repot with fresh media |
| pleating leaves | low humidity | mist humidifier |
6 Orchid Care Secrets for Ensuring Success
It takes a deft hand to grow orchids, but if you’re willing to put in the time, your efforts will pay off with abundant beauty. Know your orchid before you grow. Ask the person at your local floristry or nursery for suggestions and any advice they can offer. What you’re looking at may be appealing but also totally wrong for your home. Successfully growing orchids require a little research and knowledge.
[wp-faq-schema title=”Frequently Asked Questions About orchid care” accordion=1]