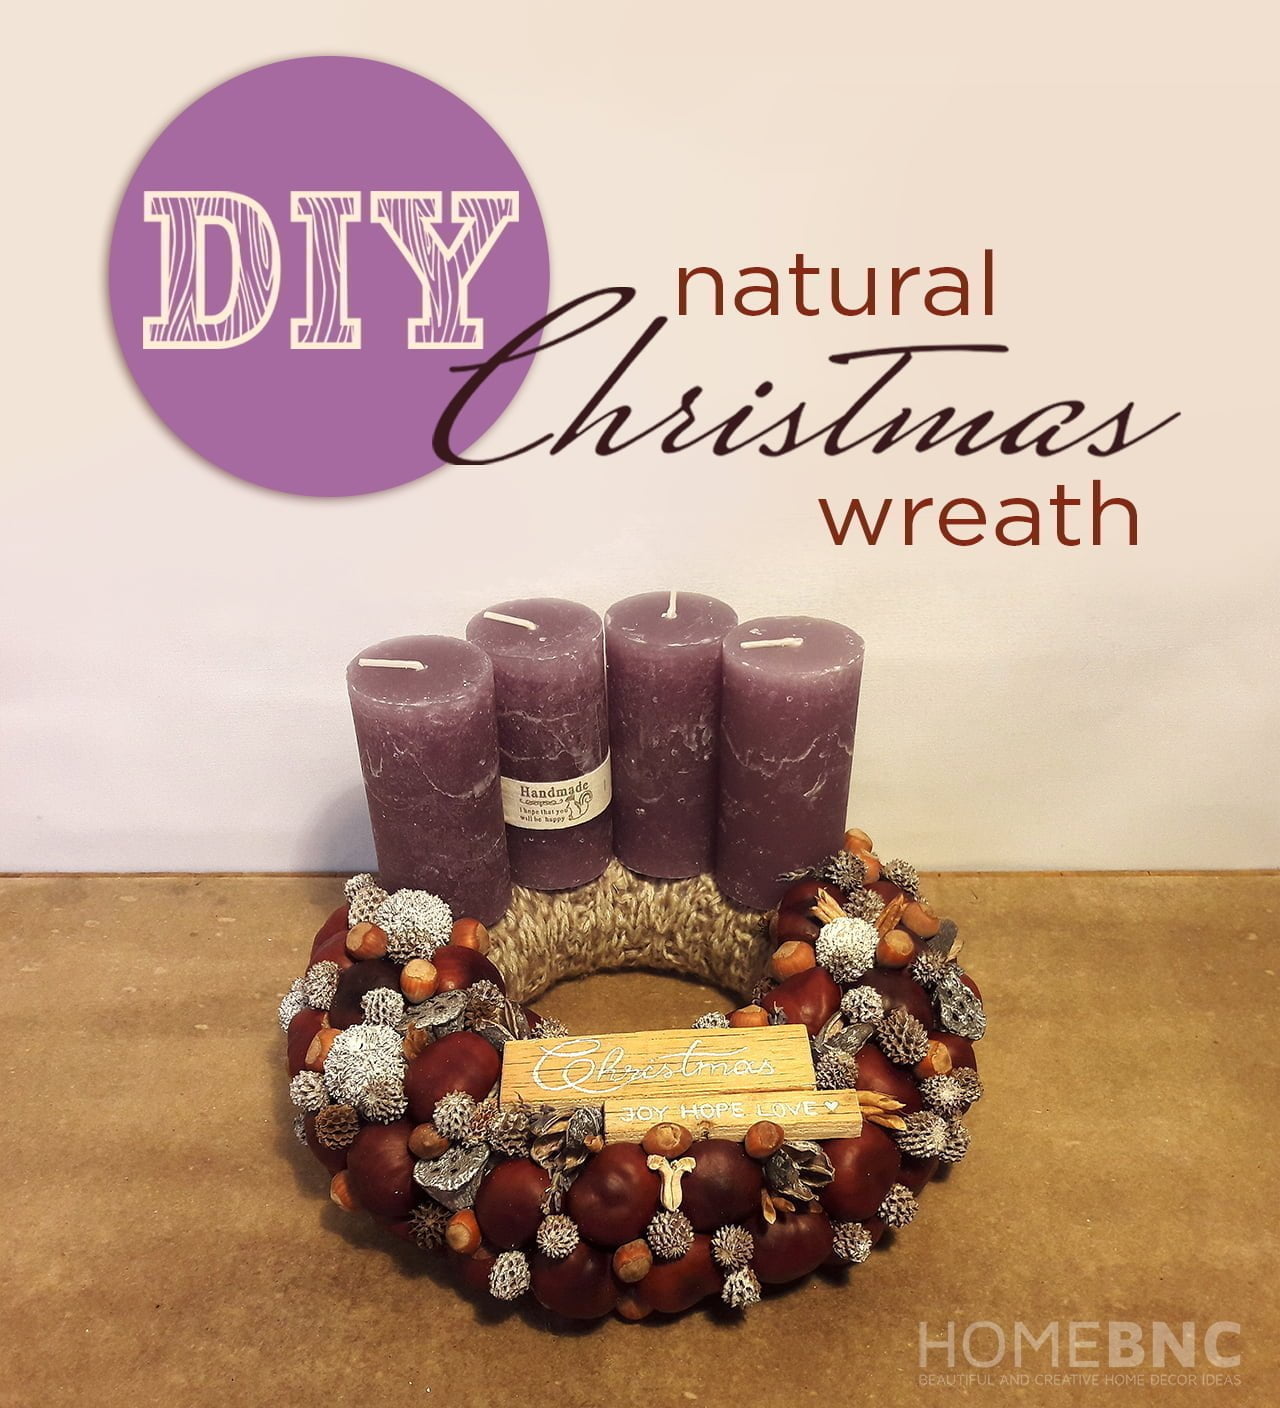
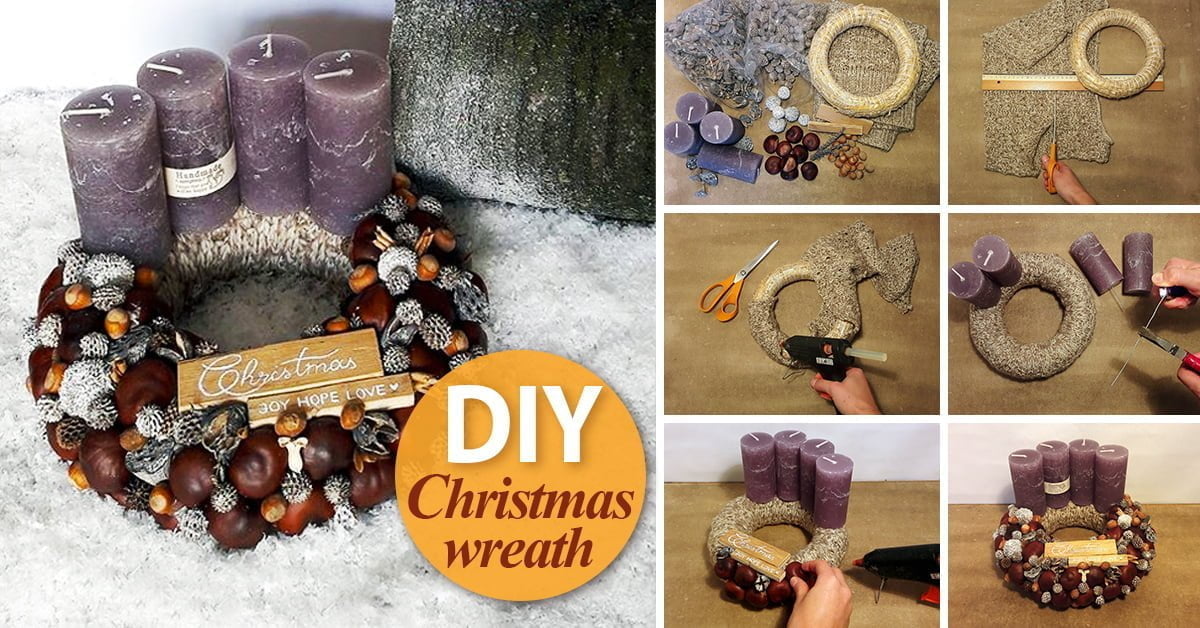
Christmas being our favourite holiday we are ever so excited to start the preparations. This year we set our creative powers into motion as early as in November.
Make Your Own Gorgeous Christmas Table Wreath

This year nature was our major inspiration. With chestnuts falling we felt as though we were children again harvesting the dark-auburn pieces. We wanted to cover the entrance of our home with chestnuts so we created a knocker. Going along the same idea we made this chestnut-covered Advent wreath with rustic candles and a handwritten plate. We loved it and thought you could also impress your family with this unique Christmas decoration.
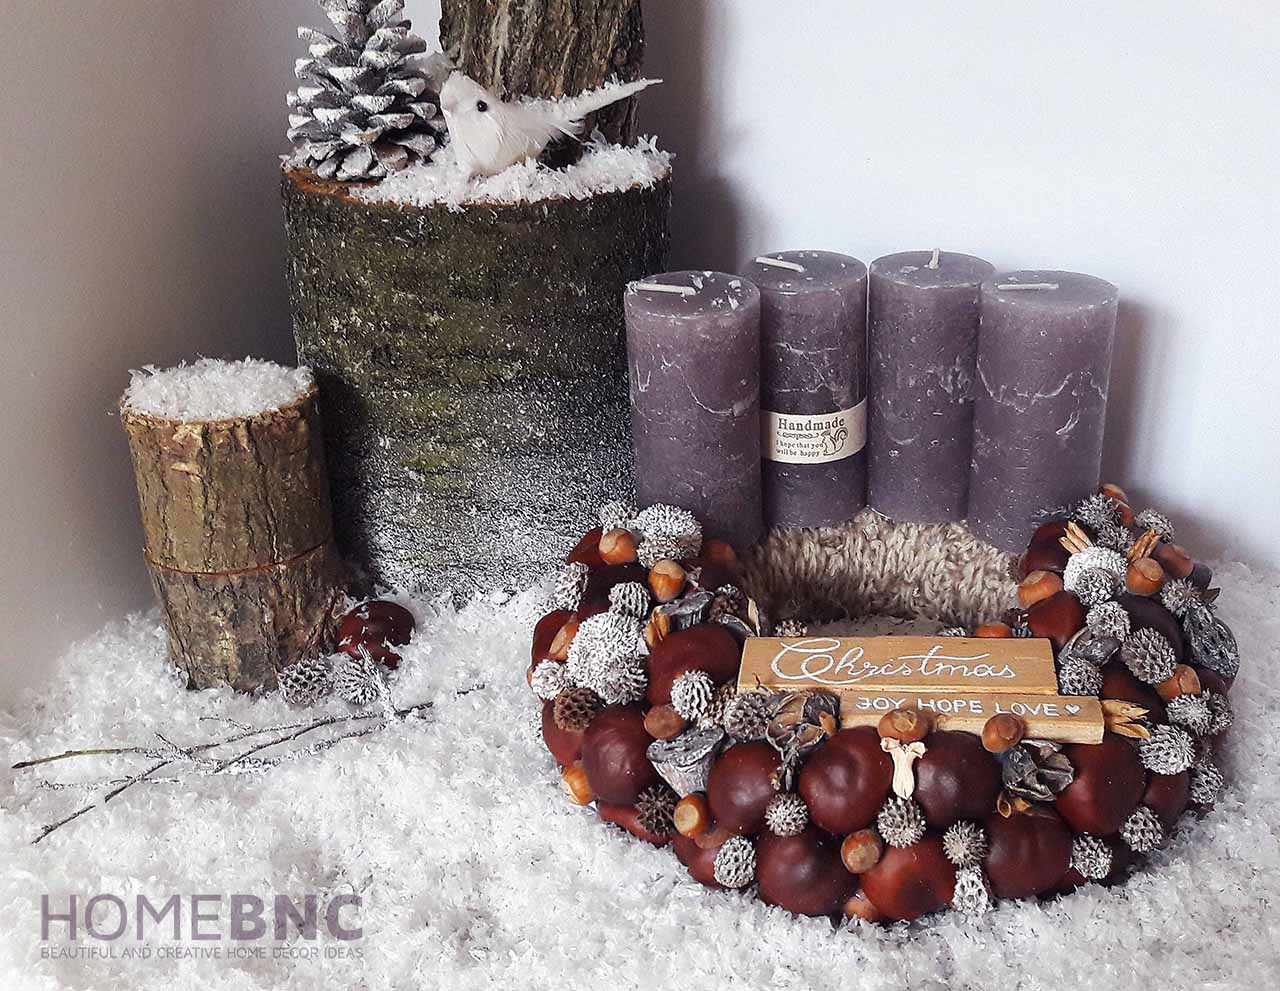
1. Prepare the Materials First
Materials needed for the wreath: a straw-wreath, 4 candles, a knitted pullover or scarf, a wooden plate, chestnuts, hazelnuts, bakuli, lotus, casuarina.
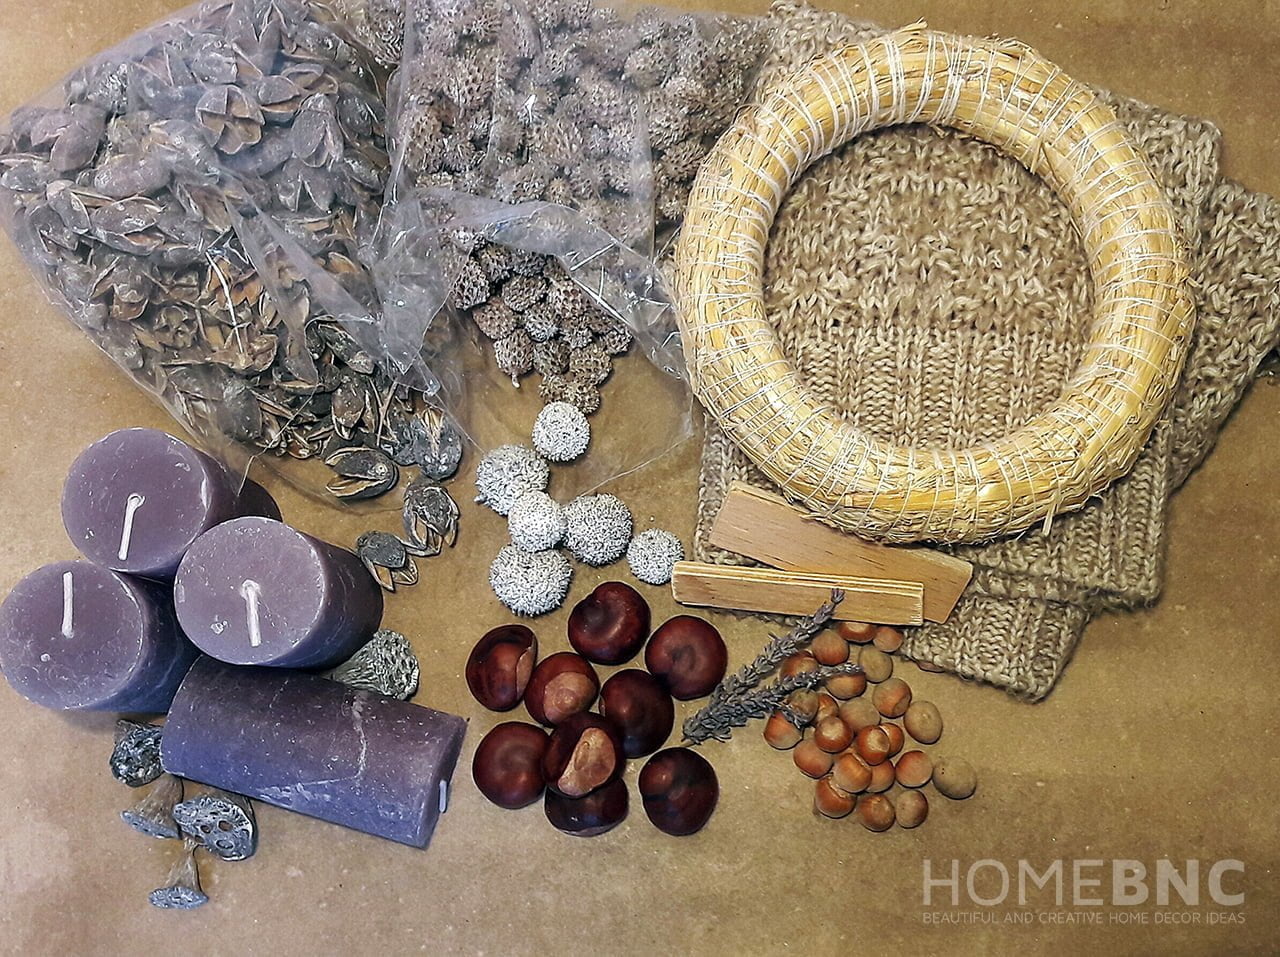
2. Make Sure you Have all the Tools
Tools and accessories: glue gun and glue stick, scissors, pliers, pins, a length of thicker wire, a lighter, some white paint, a thin brush, a pencil.
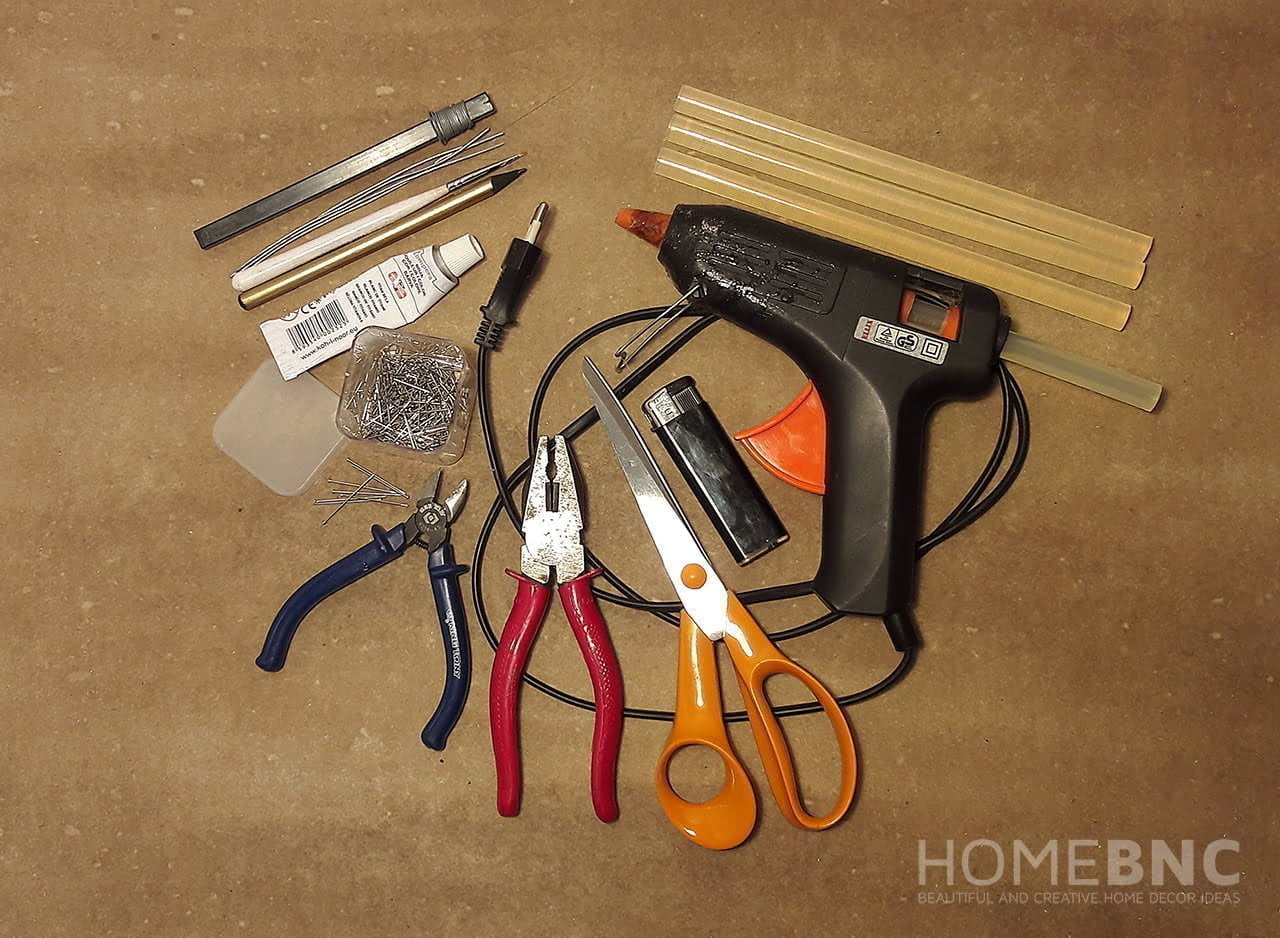
3. Cut out a Rectangle
Cut out a 16×80 cm rectangle from the knitted pullover to cover the wreath with.
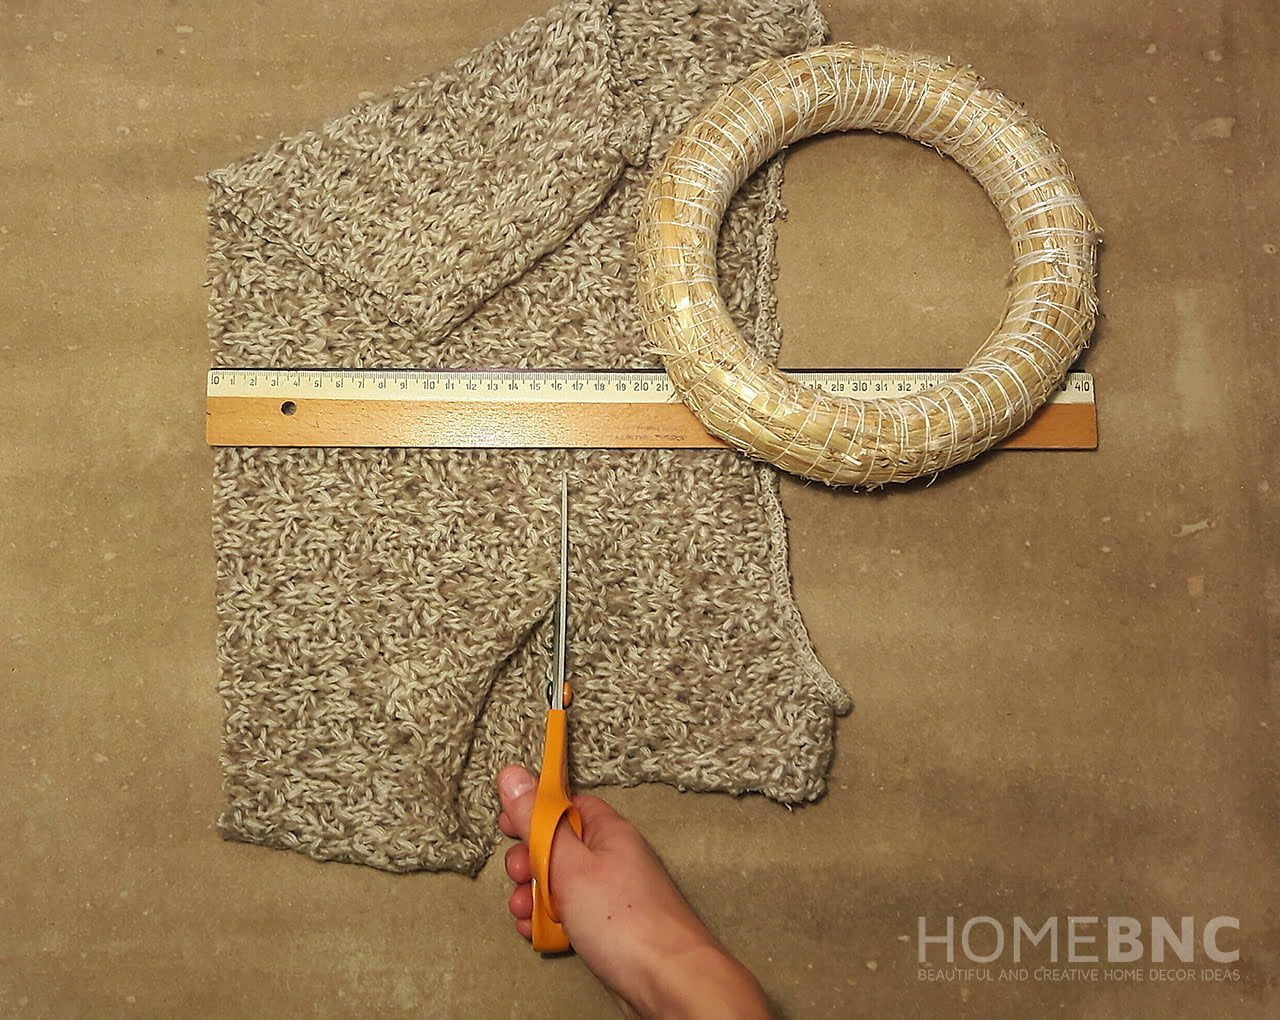
4. Cover the Wreath
Wrap the cut-out around the wreath and glue to the base as in the picture. Make sure that the edges of the material overlap.
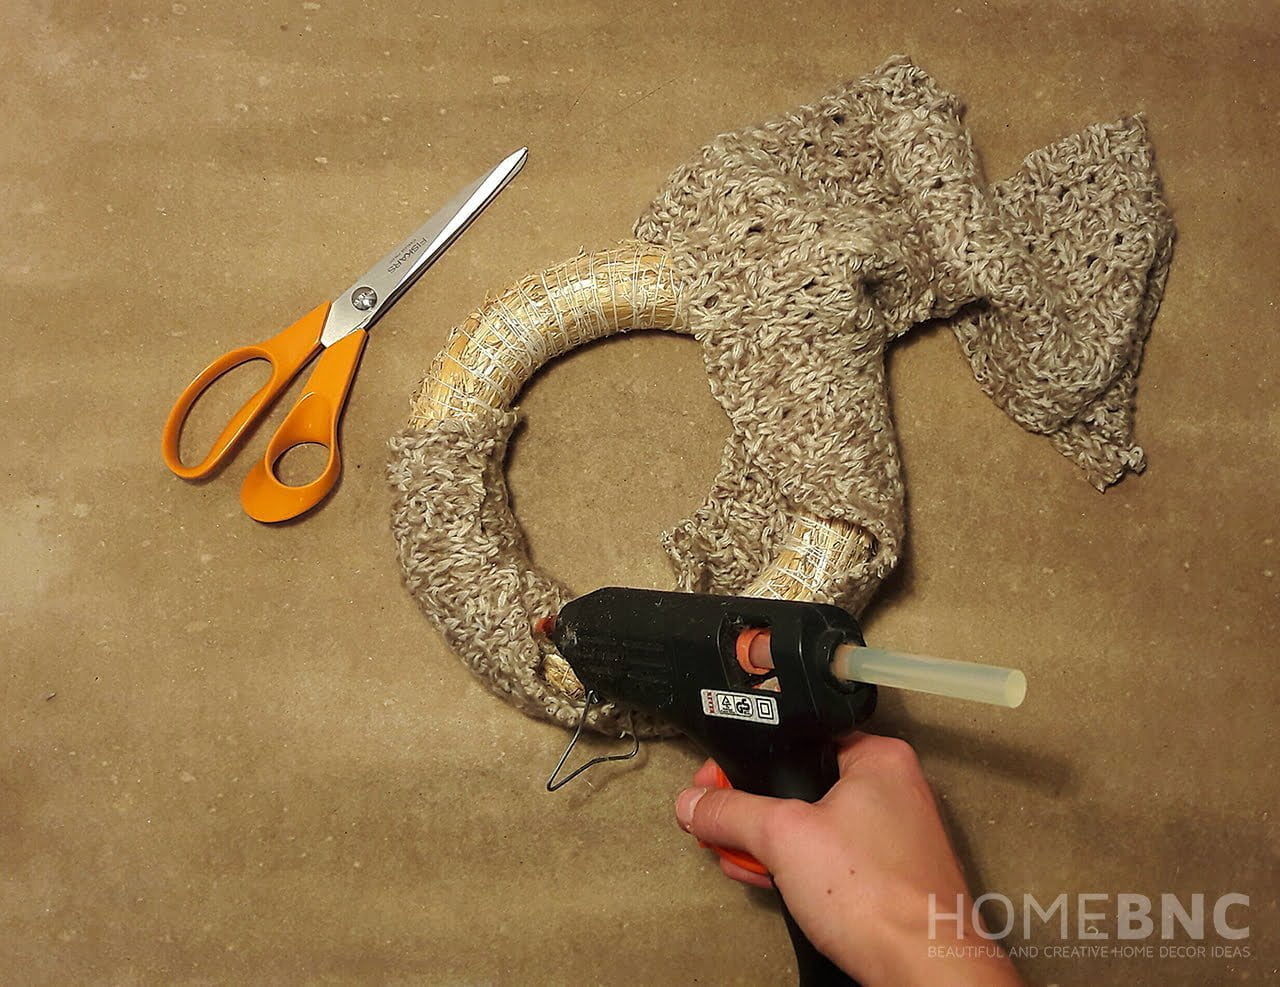
5. Start Cutting the Wire
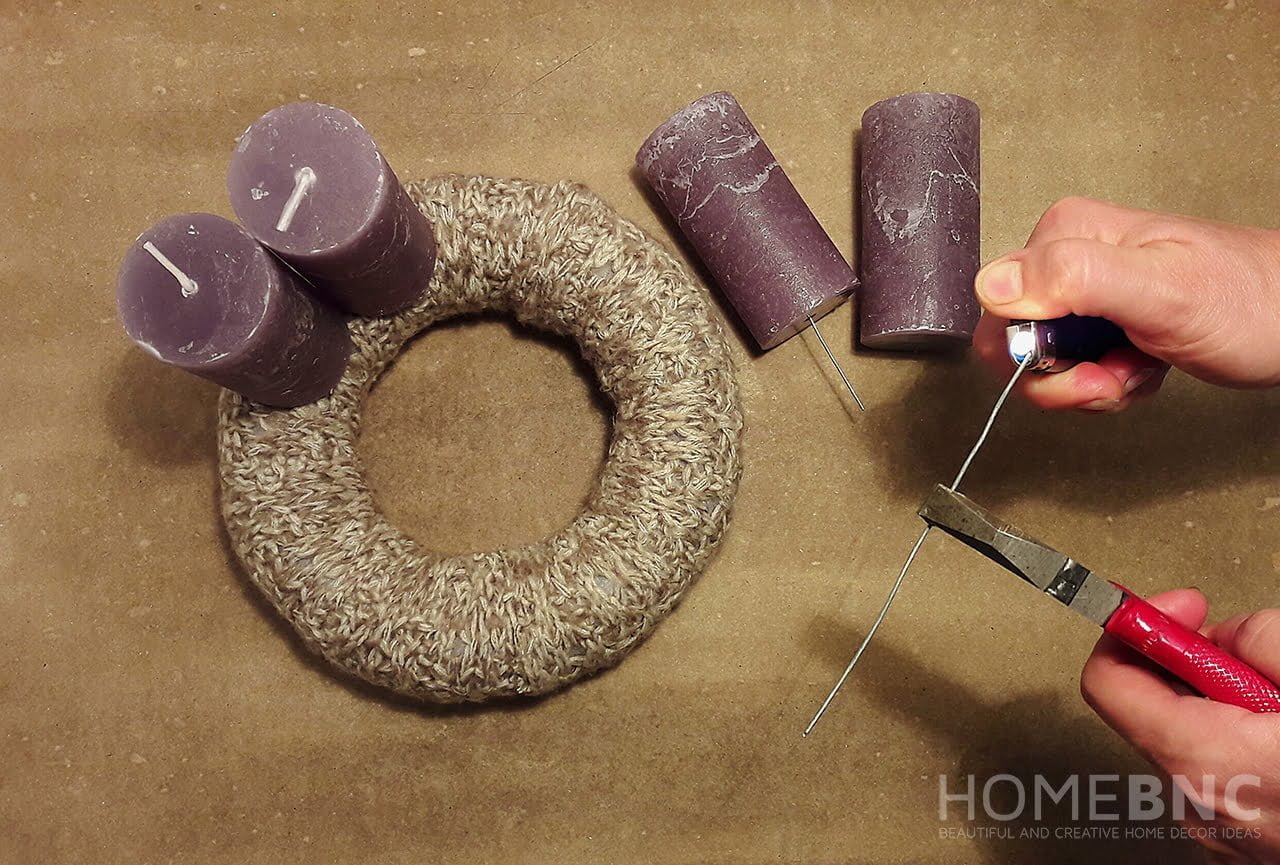
After wrapping the wreath, take the candles, the pliers and the wire. Cut 4 times 12 cm off the wire.
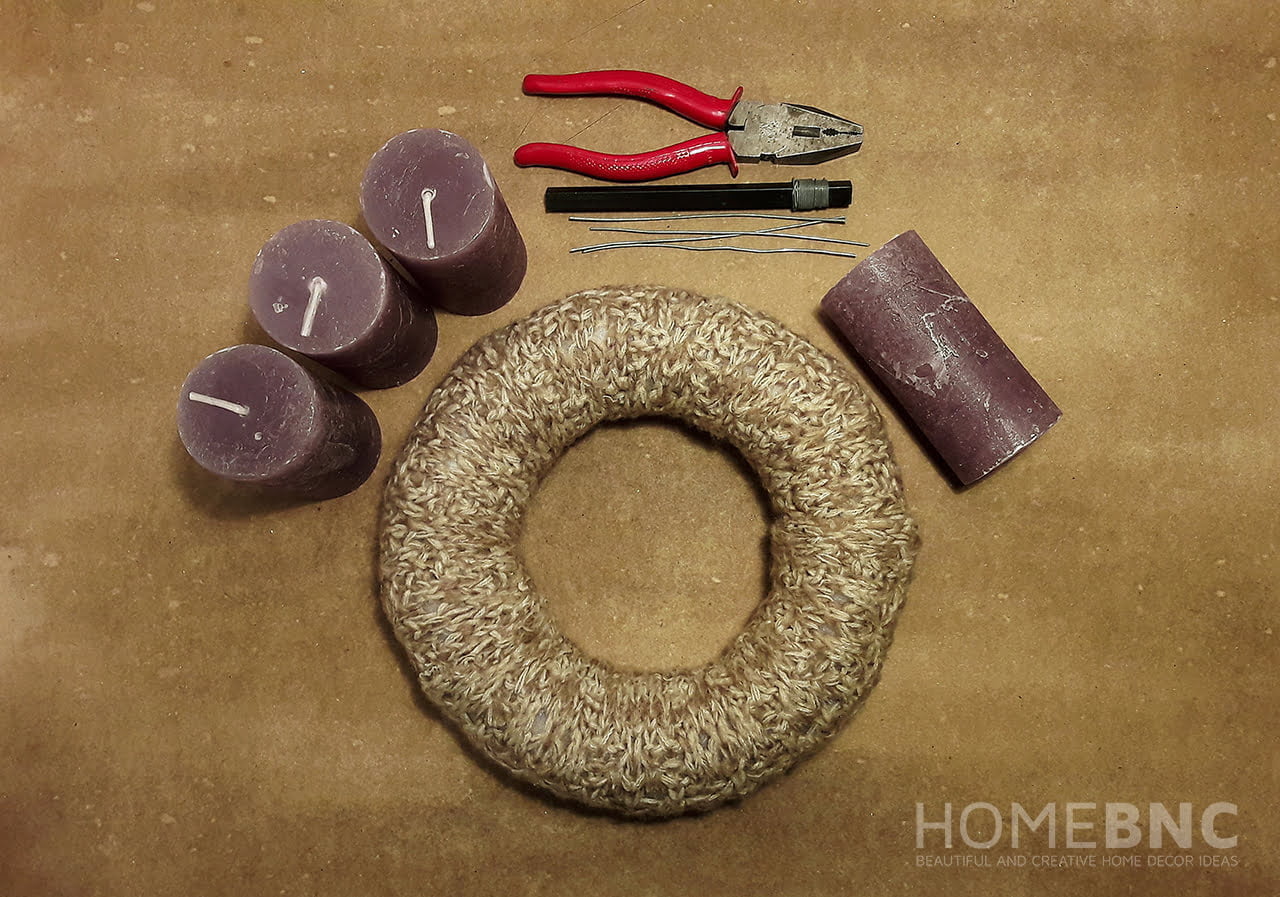
6. Start Assembling the Wreath
To attach the candles first use the lighter to heat the wire, then with the help of the pliers stick one end of the wire into the candle and the other into the wreath. It may be easier to use candle pins instead of the wire.
7. Choose your Favorite Christmas Greeting
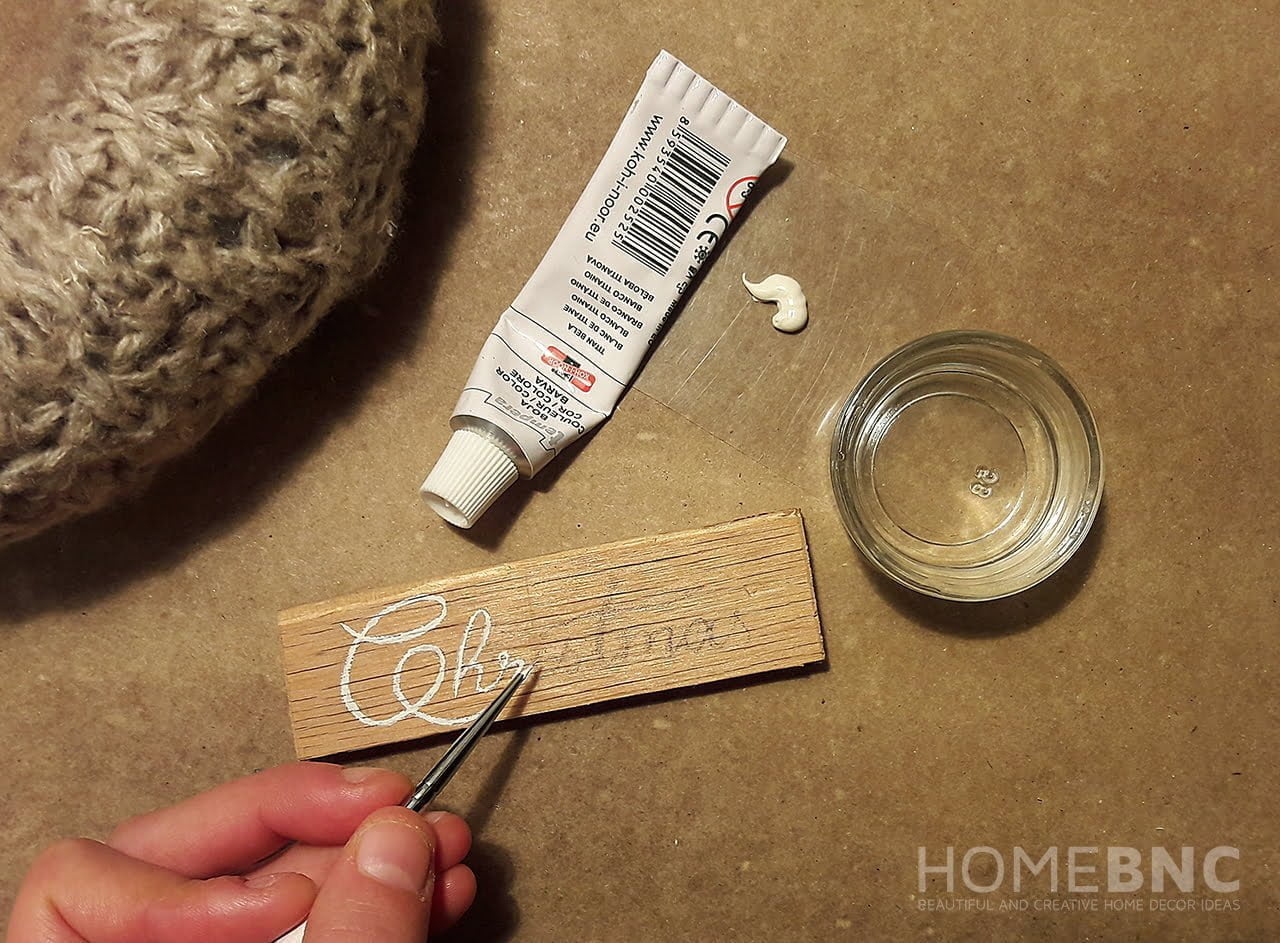
Now take the wooden plate, choose a Christmas greeting of your taste, and write it on the plate. Use a pencil first then write it over with the brush and the paint.
8. Glue the Collected Materials to the Wreath
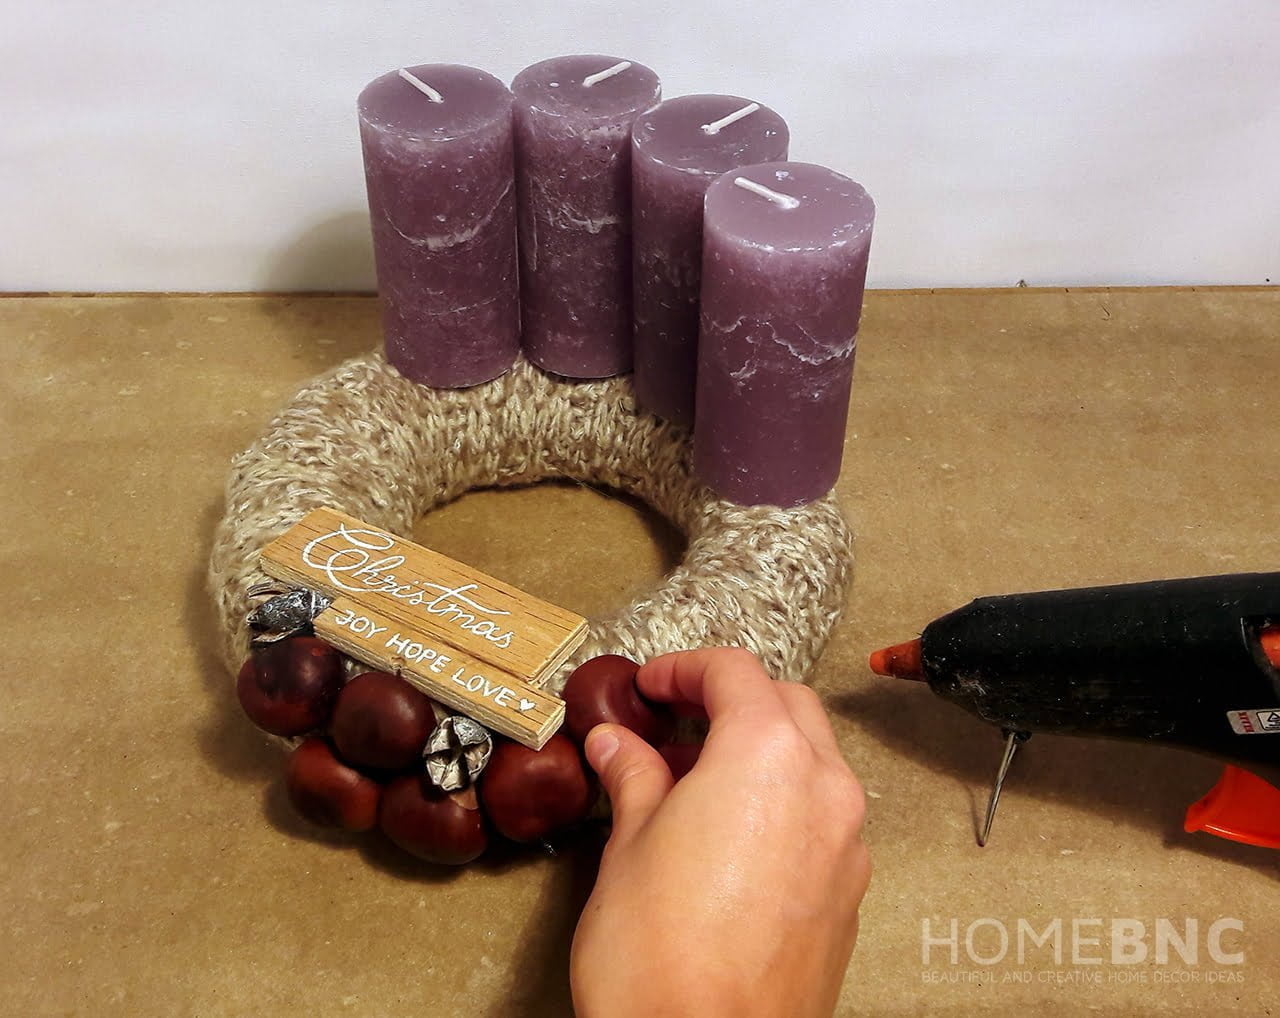
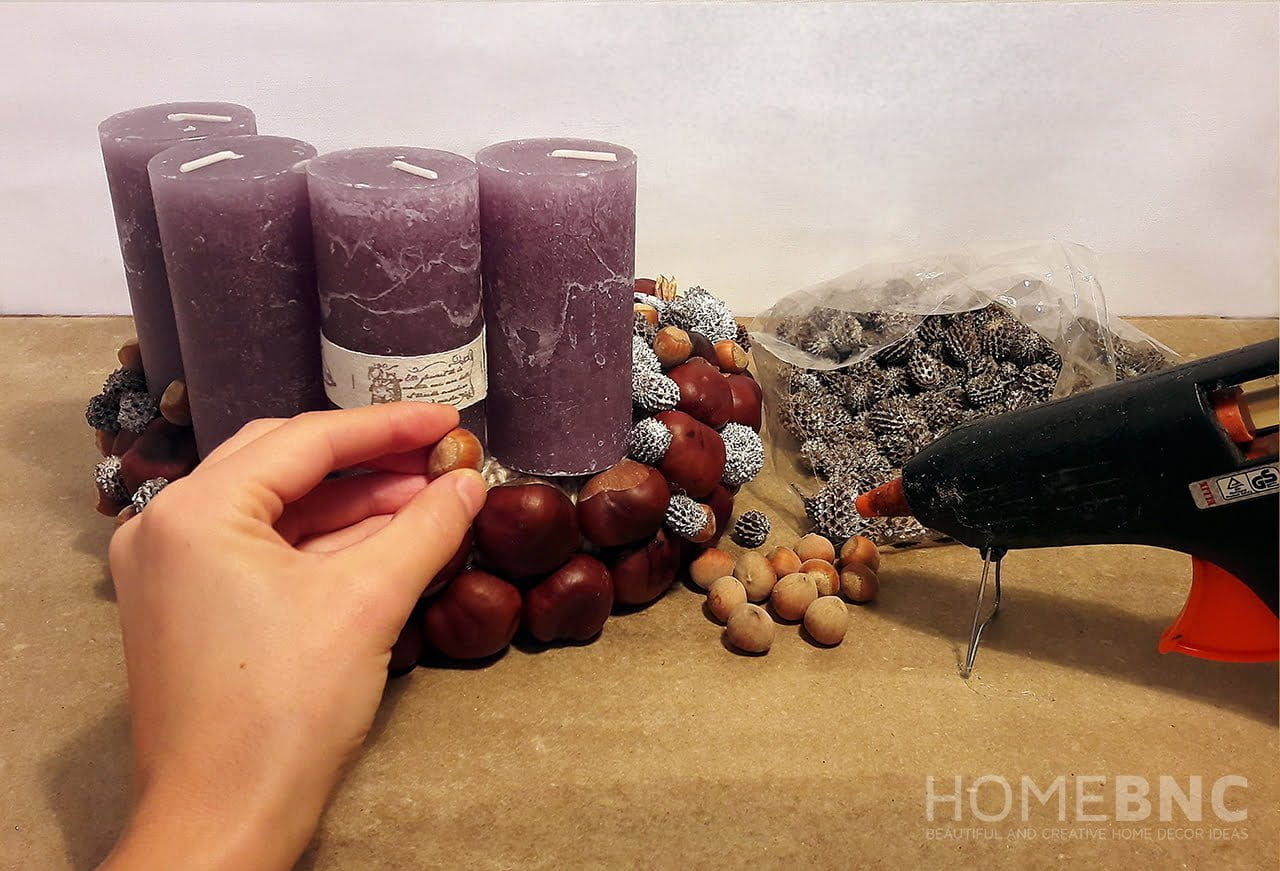
Find the best position for the plate and start gluing whatever you have collected to the wreath. Make sure to begin with the chestnuts and the larger pieces.
9. Attach the Pieces
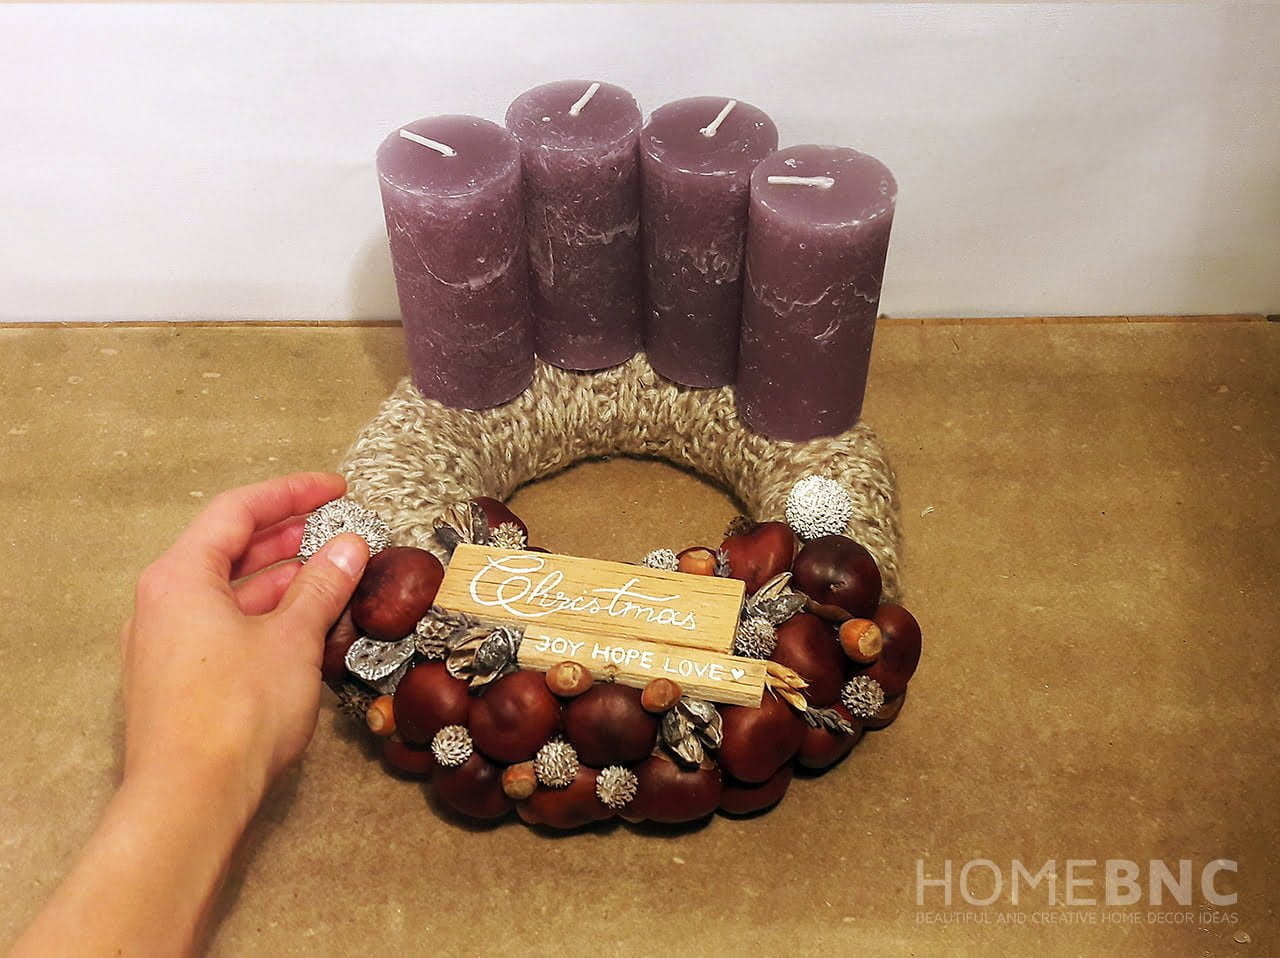
Attach the pieces so close to each other that you can see as little as possible of the knitted cut-out.
10. Finish with the Smaller Pieces
Finally, apply smaller pieces to the areas where some of the knitted material can still be seen.
Enjoy your Gorgeous Nature Inspired Christmas Wreath
